 Skip to content


Written by
Paul M.
If you’re tired of scrubbing chalky white spots off your shower door, you’re seeing the effects of hard water. This stubborn film, along with cloudy glassware, dry skin, and stiff laundry, is a sign that minerals are building up in your pipes and appliances. This buildup reduces efficiency and shortens the lifespan of your water heater and dishwasher, costing you time and money.
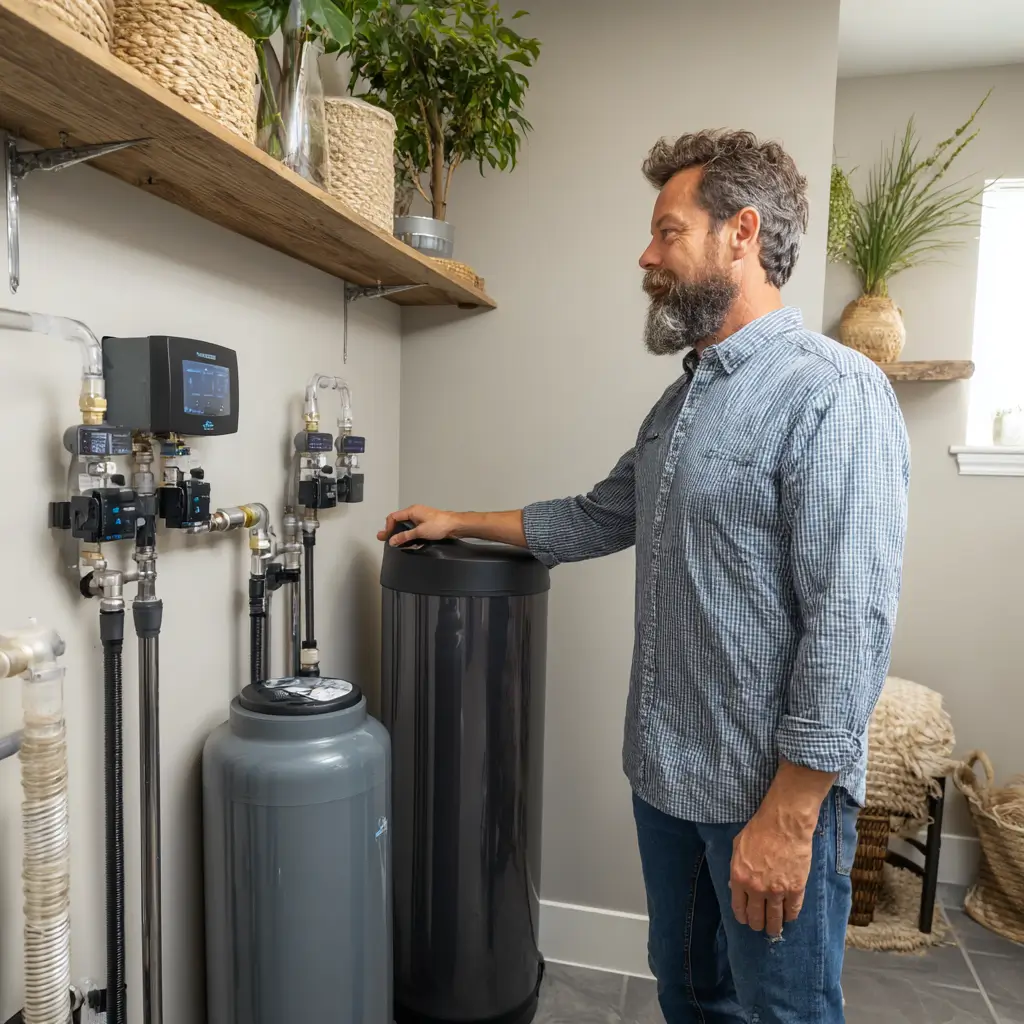
A whole-house water softener is the definitive solution. By installing one, you’ll enjoy the immediate benefits of soft water—brighter laundry, spot-free dishes, and smoother skin—all while protecting your home’s plumbing. This guide walks you through preparation, plumbing connections, and final programming to help you decide if this is the right DIY project for you.
Summary
- Process: A water softener uses an ion exchange process, replacing hard minerals (calcium, magnesium) with soft ions via resin beads, which are periodically cleaned by a brine solution.
- Installation: A successful DIY installation requires careful site selection, proper plumbing connections with a bypass loop, correct drain setup with an air gap, and accurate system programming.
- Benefit: The system protects plumbing and appliances from scale, improves cleaning efficiency, and provides noticeable quality-of-life benefits like softer skin and spot-free dishes.
How a Water Softener Actually Works
At the heart of a water softener is a process called ion exchange. The main tank is filled with tiny resin beads that act like magnets for hardness minerals. As water flows through this resin, the beads grab calcium and magnesium, releasing softer particles in their place and sending soft water to your home.
Eventually, the resin beads become full. The second tank, the brine tank, holds a saltwater solution to clean them. This is why you must add salt to your softener periodically. The system automatically runs a regeneration cycle, flushing the resin with the brine to wash the collected minerals down the drain. After a final rinse, the resin is recharged and ready to soften water again.
DIY vs. Professional Installation: A Crucial Checklist
The primary motivation for a DIY vs professional water softener installation is cost. Hiring a plumber can add $300 to $1,000+ to your total water softener installation cost, so a DIY approach is appealing. However, this is only valuable if the job is done correctly.
This project doesn’t require master plumbing skills, but you should be comfortable with a few key tasks.
You can likely DIY if you can:
- Confidently find and turn off your home’s main water supply.
- Use a pipe cutter and tape measure with accuracy.
- Follow detailed, multi-step instructions.
- Safely lift and move 50-75 lbs.
For a handy person, how long does it take to install a water softener? Typically two to four hours. However, if your pipes are old, you lack a suitable drain, or your plumbing is overly complex, it’s time to call a pro. Forcing a connection is the fastest way to cause a leak.
Your Pre-Installation Checklist
A successful installation begins with this pre-installation checklist for water softeners.
First, size your system by finding your water’s hardness level, measured in Grains Per Gallon (GPG). You can find this on your city’s water quality report online or use an inexpensive water test strip. The higher the GPG, the higher the “grain capacity” your softener will need.
Next, find the right spot. Knowing where to install a water softener in a house is critical. The ideal location is close to your main water shutoff valve, within 10 feet of an electrical outlet, and near a drain (like a floor drain or utility sink). This is often in a basement, garage, or utility closet.
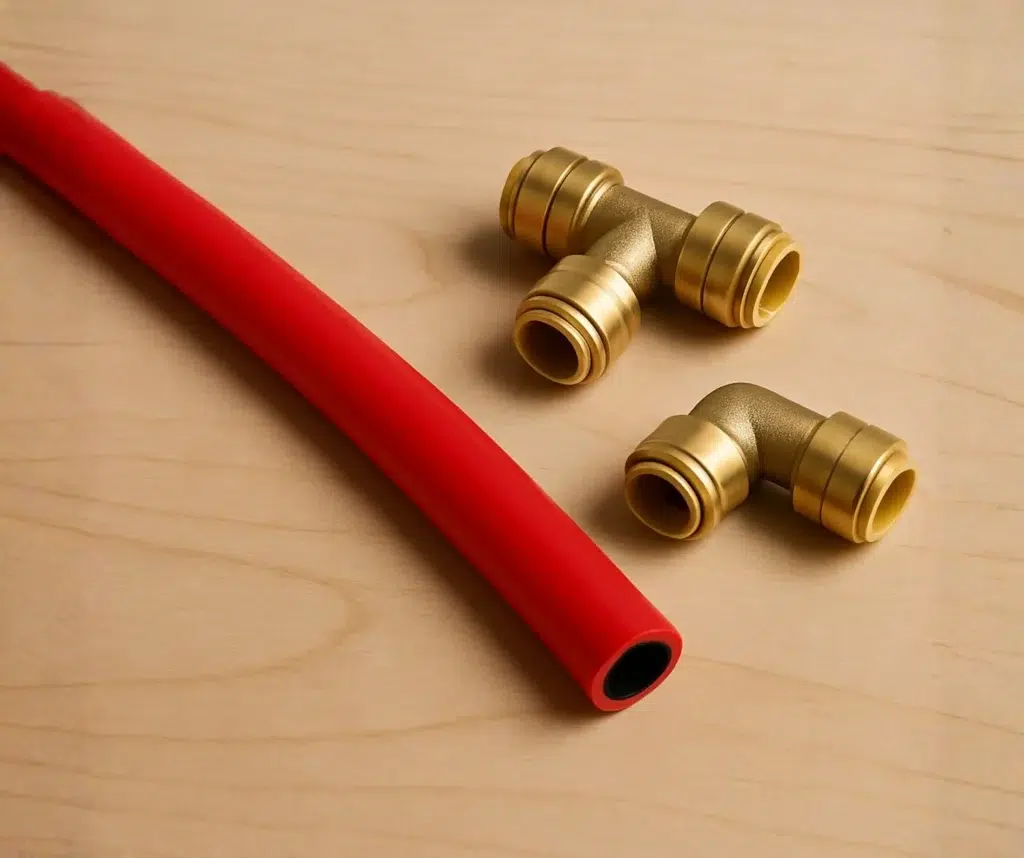
Finally, gather your gear for the most DIY-friendly method: installing a water softener with PEX tubing and push-to-connect fittings, which require no soldering. You’ll need:
- Pipe cutter (for copper or PEX)
- Deburring tool
- Tape measure
- Adjustable wrenches
- Bucket
- PEX tubing and push-to-connect fittings
Step 1: Creating a Water Softener Loop
First, turn off the water to your entire house at the main shutoff valve. Open the lowest faucet in your house (like a basement sink) to drain the remaining water from the pipes.
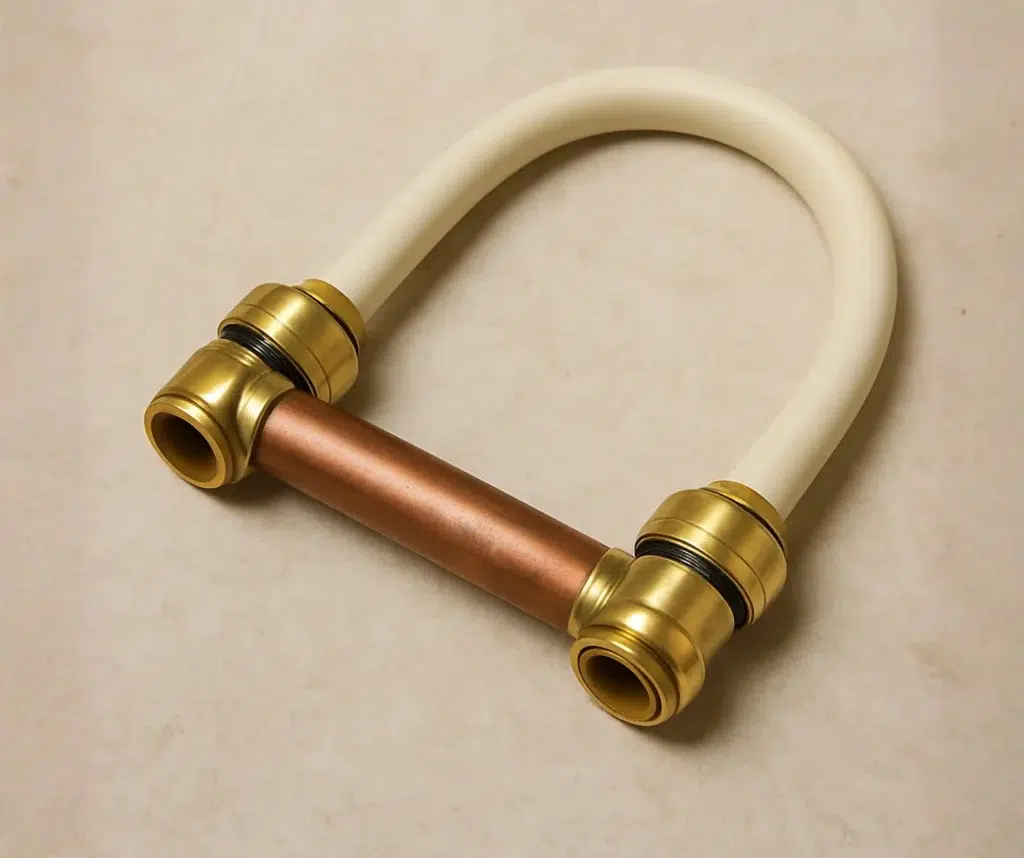
Next, cut out a small section of your main water line to build your water softener loop. This creates a detour that sends water through the softener and includes a bypass to route water around it for maintenance. The water softener bypass valve function is critical, as you don’t want to waste softened water on your lawn.
After cutting the pipe, clean the edges with a deburring tool. Press a push-to-connect fitting firmly onto one end of the cut pipe until you feel it click into place, creating a watertight seal. Repeat on the other end. This simple process is the core of installing a water softener with PEX tubing. Check if your area has specific local plumbing codes, but this method is widely approved and reliable.
Step 2: Connecting the Softener, Drain, and Brine Tank
Your softener has an inlet port for hard water and an outlet port for softened water, usually marked with arrows. Connect the PEX lines from your loop to the matching ports. Getting these backward is one of the most common water softener installation problems, so double-check the flow direction.
Next, attach the drain line to a nearby floor drain, laundry sink, or standpipe. One of the most important water softener drain line requirements is an “air gap.” The end of the hose must terminate about an inch above the drain opening, not inside it. This prevents dirty drain water from being siphoned back into your system.

Finally, follow the brine tank setup guide and connect the small tube from the salt tank to the main softener unit. This allows the softener to draw brine during its regeneration cycle.
Step 3: Programming Your System
With the physical water softener system installation complete, slowly open the main water valve and check carefully for drips at all connections.
Using the buttons on the control head, enter the following information based on your manual’s instructions:
- Your home’s water hardness number (the GPG from your test results).
- The current time of day.
- The regeneration time. Setting up water softener regeneration cycle for 2:00 AM ensures it cleans itself when no one needs water.
Finally, follow the brine tank setup guide: add two bags of water softener salt into the brine tank and pour about three to four gallons of water on top. Your system is now fully operational.
Your New Life with Soft Water
The benefits of soft water will be apparent immediately. Soap will lather effortlessly, skin will feel smoother, and soap scum will be a thing of the past. Your water softener maintenance is also simple: check the salt level in the brine tank once a month. When it drops below one-third full, add another bag, making sure the tank is never more than two-thirds full.
You no longer have to live with the effects of hard water. You now see it as a solvable problem and your plumbing as a system you can improve. Every lather-rich shower and spot-free dish will be a small reminder of the day you took control of your home’s water quality.
Conclusion
Installing a water softener is a valuable investment in your home’s plumbing system and daily comfort. By methodically following preparation, connection, and programming steps, homeowners can achieve professional-grade results. The immediate payoff includes enhanced appliance efficiency, reduced maintenance, and improved water quality for cleaning and personal care. With straightforward ongoing maintenance, a softener delivers long-term protection and cost savings, effectively solving the persistent problems caused by hard water.
Frequently Asked Questions
What is the most critical requirement for the softener’s drain line?
The drain line must have an air gap, terminating about an inch above the drain opening to prevent contaminated water from siphoning back into the sanitized softening unit.
How do I determine the correct size (grain capacity) for my softener?
Test your water’s hardness in Grains Per Gallon (GPG) using a test strip or municipal report. The softener’s grain capacity must exceed your household’s daily usage based on that GPG.
What is the key benefit of including a bypass valve during installation?
A bypass valve allows you to route water around the softener for maintenance or to supply unsoftened water for outdoor irrigation, conserving salt and softened water.
